
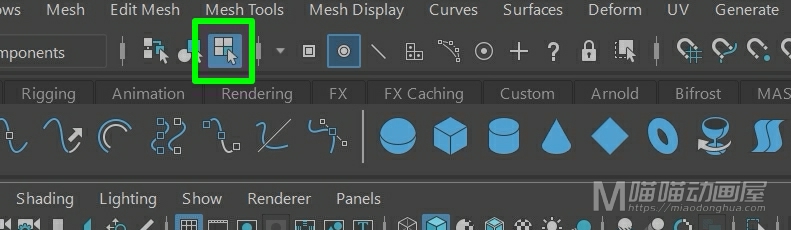
今天我们来讲一下Maya曲线菜单下的这个【曲线圆角命令-Fillet Curve 】。
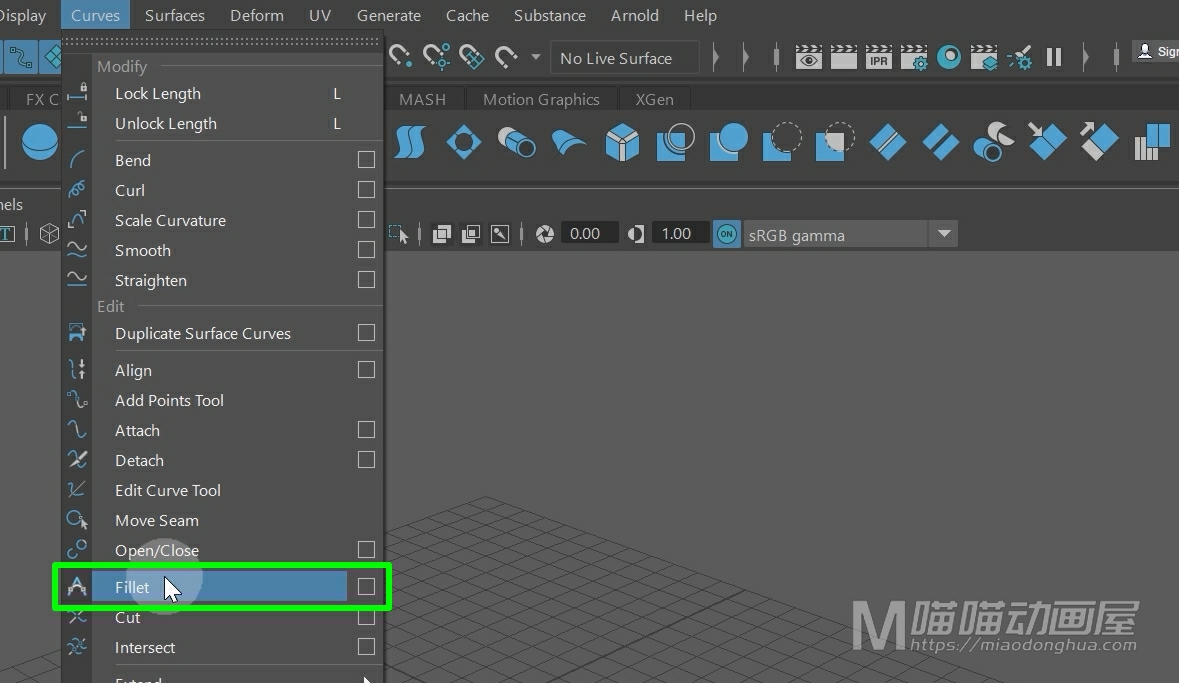
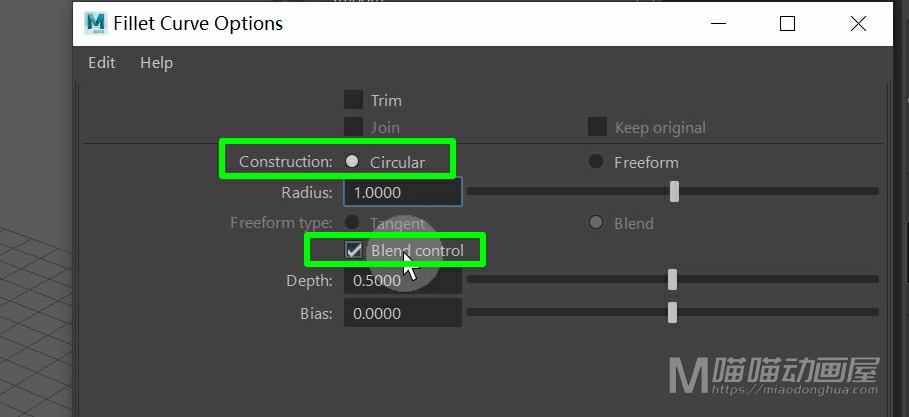
我们先把这个窗口独立显示出来,然后我们打开它的选项设置,那么这里我们可以看到,它默认的构建方法是圆形,它下面有一个融合控制,它是配合我们的构建方法来使用的,所以这里我们一定要记得勾选它。
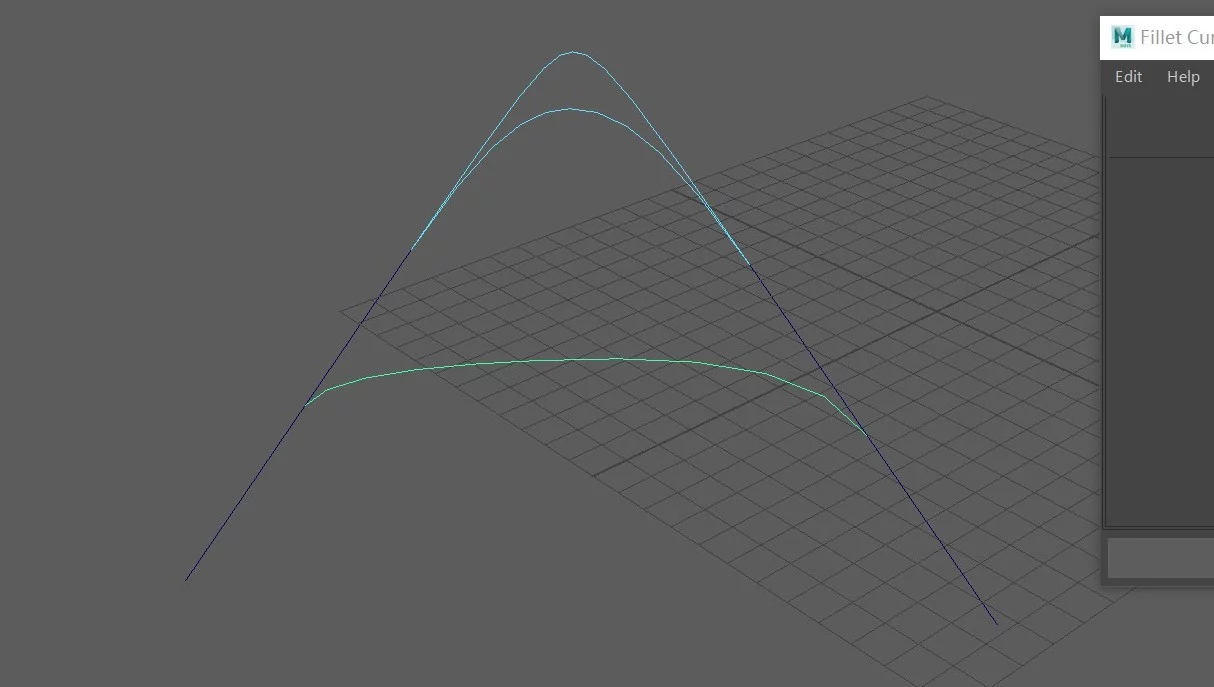
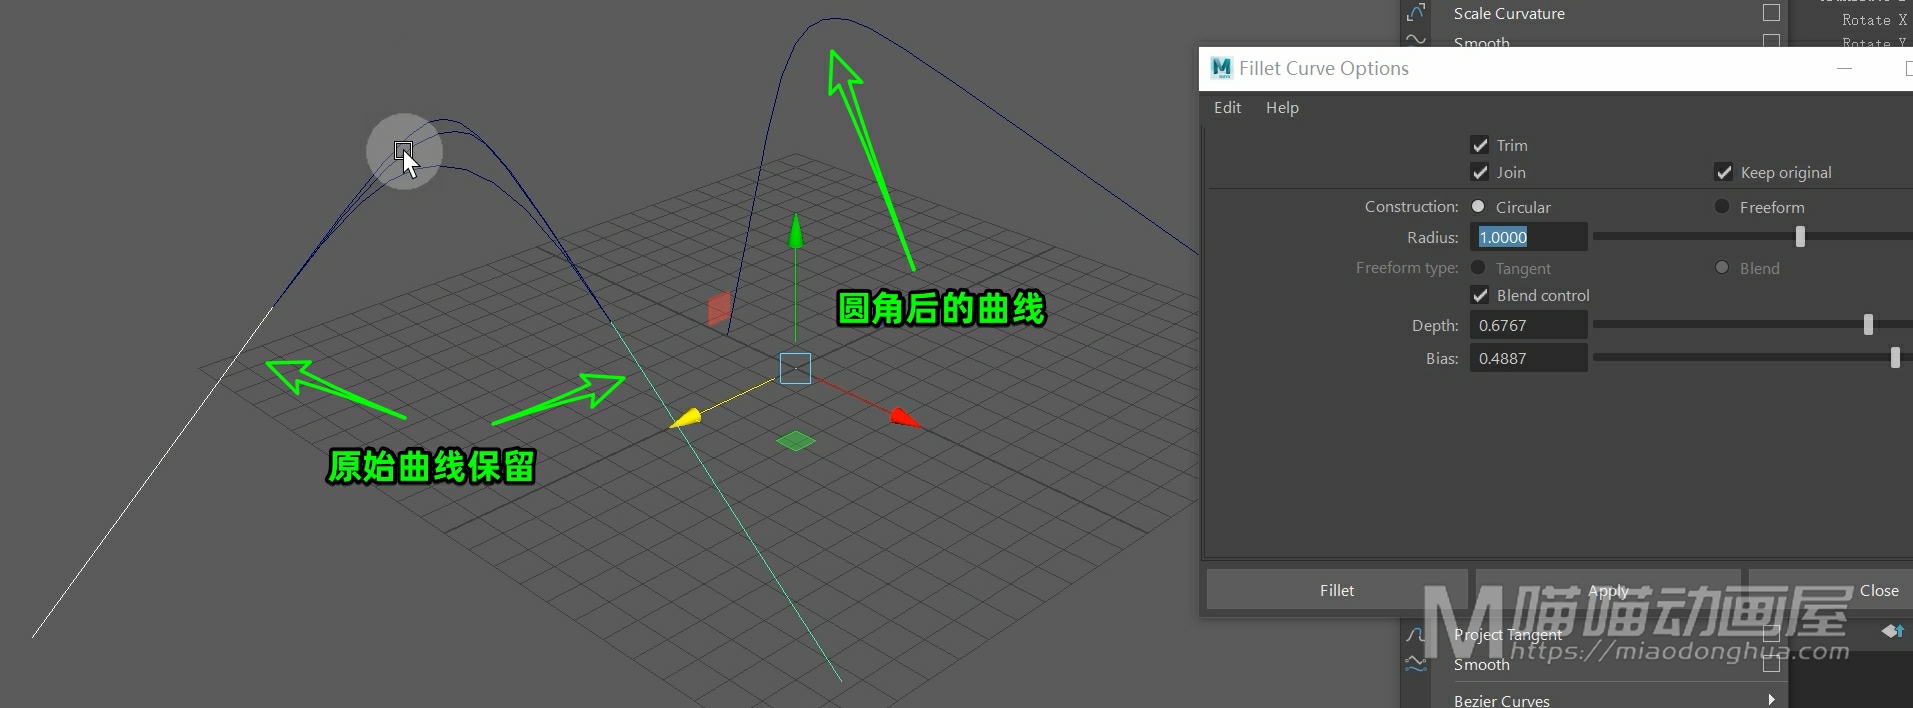
那么现在我们使用ep曲线工具在场景中画两条曲线,然后我们选择这两条曲线,点击应用。

这样这两条曲线成角的地方就会出现一个曲线圆弧。

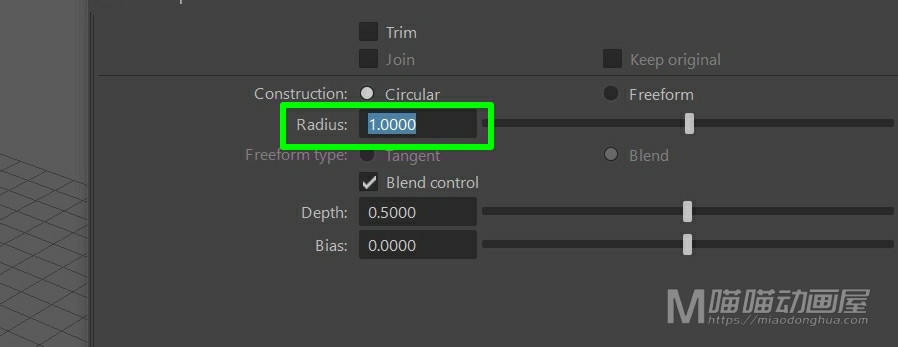
如果我们要改变这个圆弧的半径,我们可以预先在这里设置它的半径大小。
假设我们要把这个圆弧变得深一些。
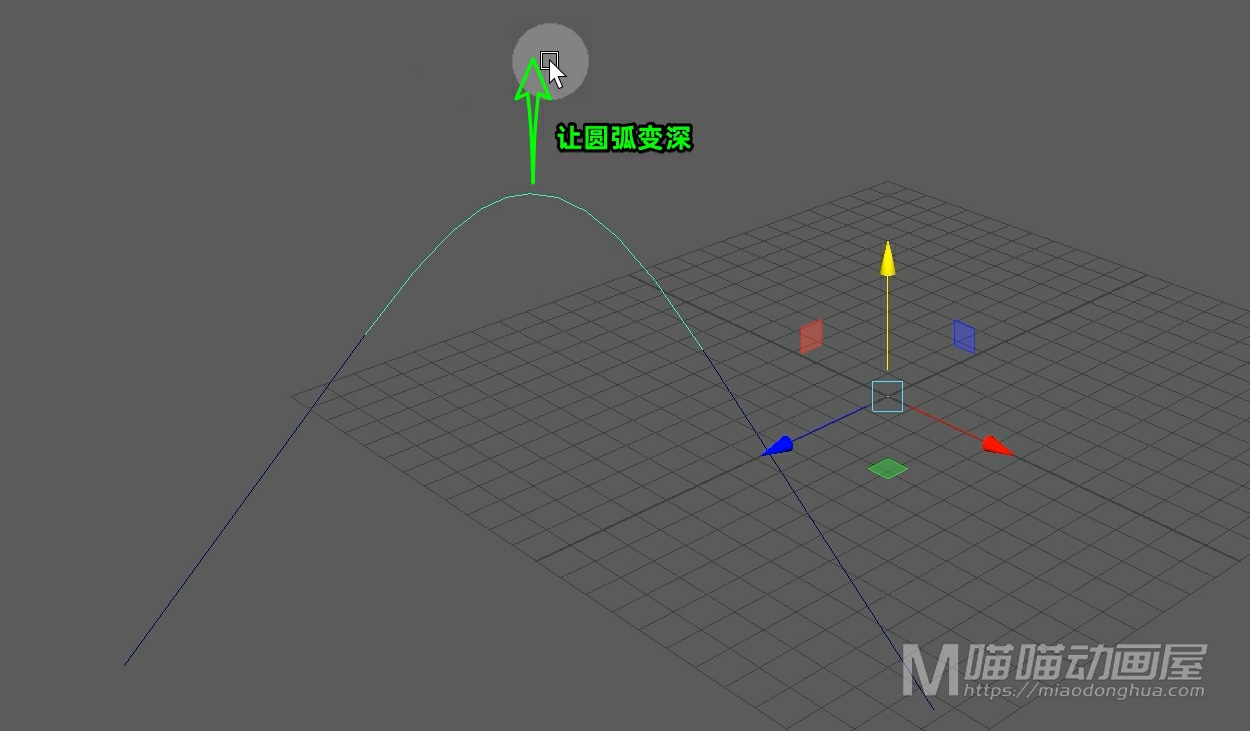
我们可以增加它的这个深度。
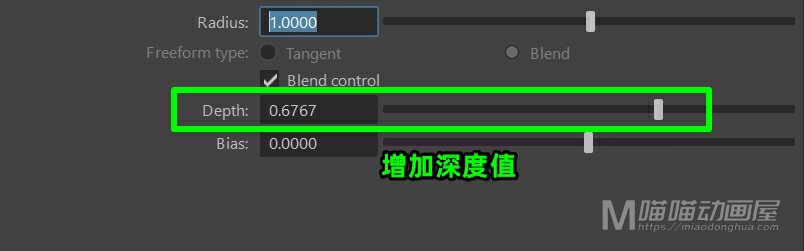
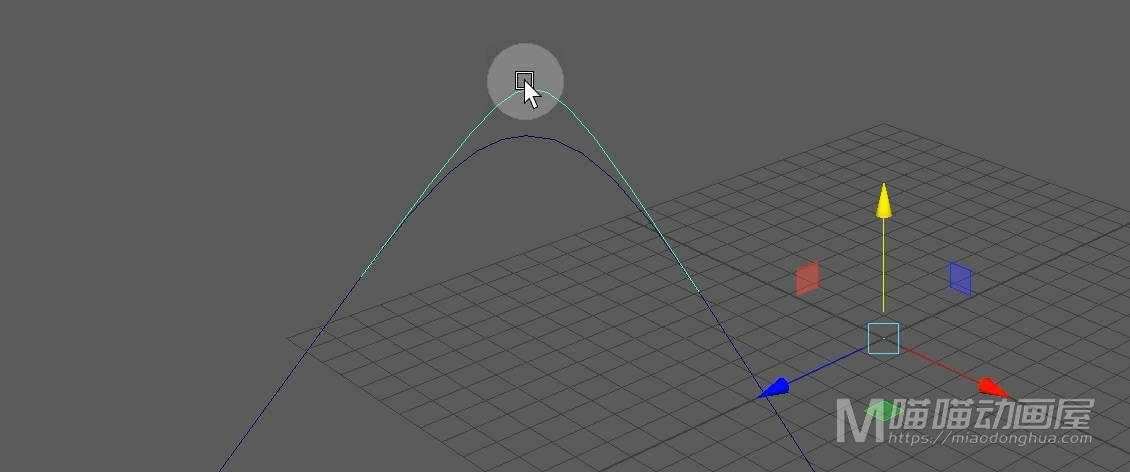
然后我们选择这两条曲线,点击应用,这样,这个圆弧就深了许多。
假设我们要控制这个圆弧向左或者向右偏移。
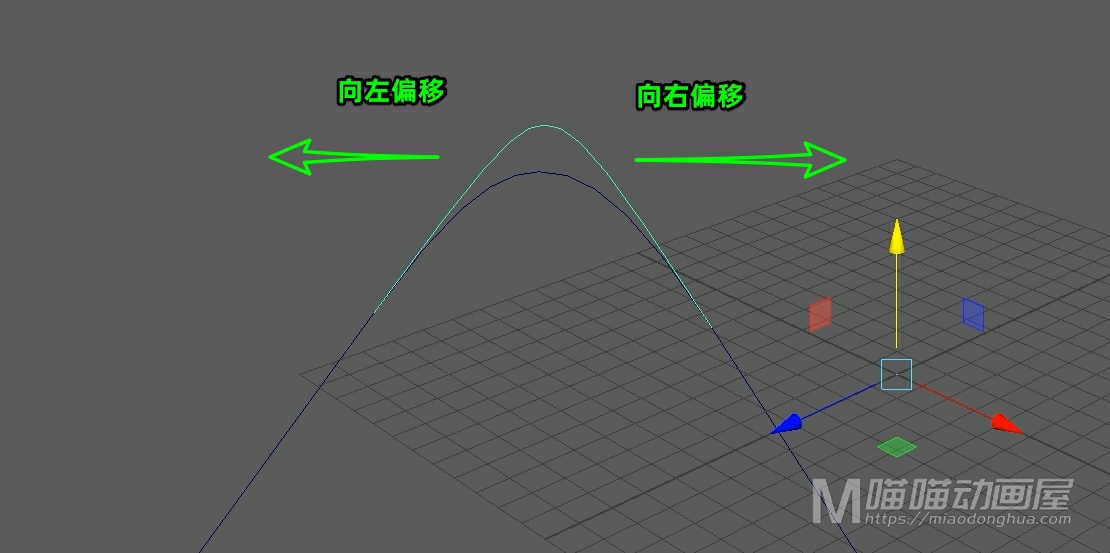
我们可以调节它的这个偏移值。
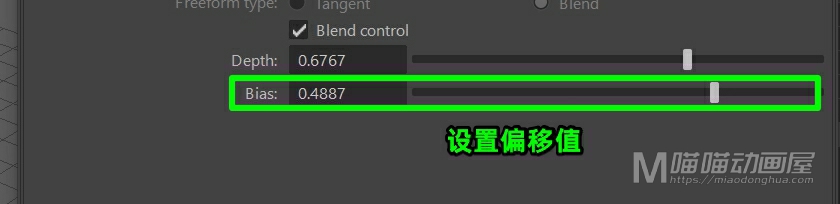
然后我们再次选择这两条曲线,点击应用,这样这个偏移的效果就出来了。

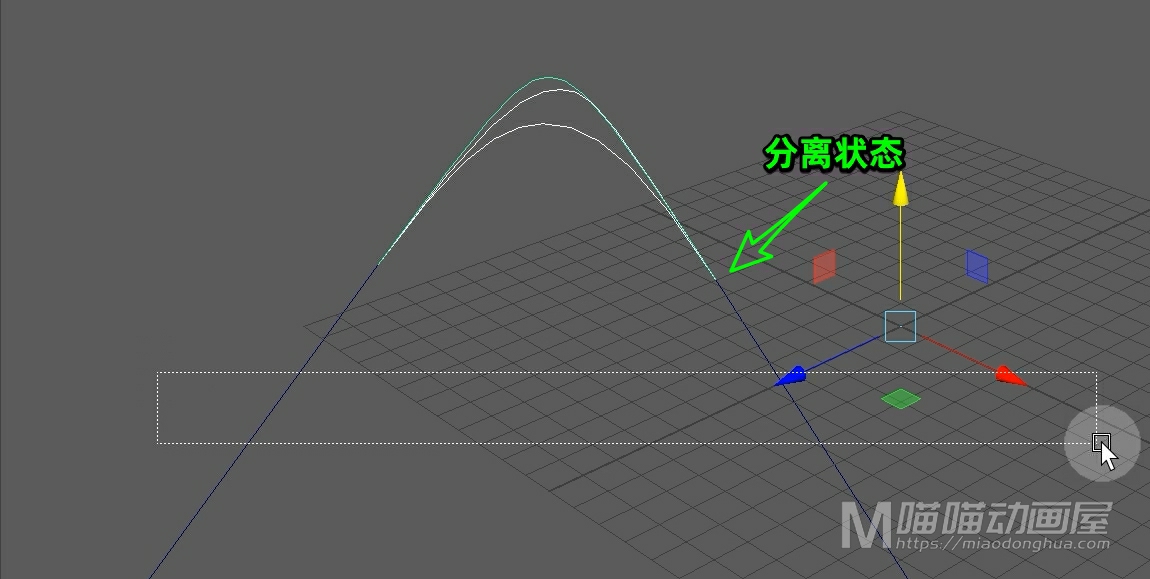
那么这里我们会发现一个问题:就是我们所构建的这个圆弧和我们的原始曲线是分离开的。
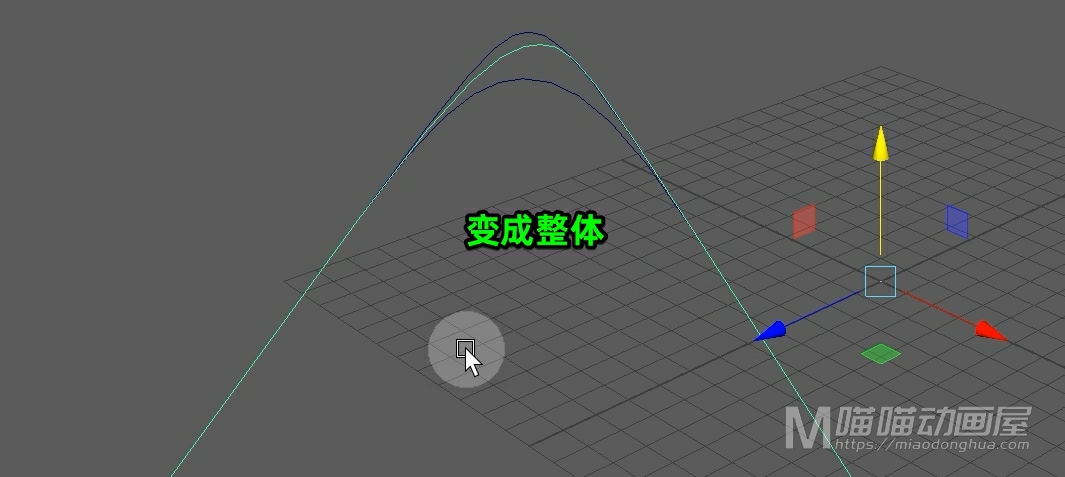
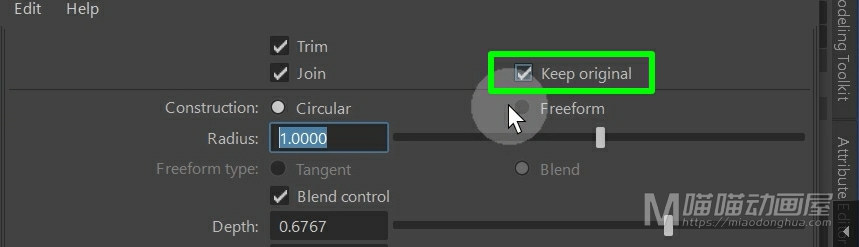
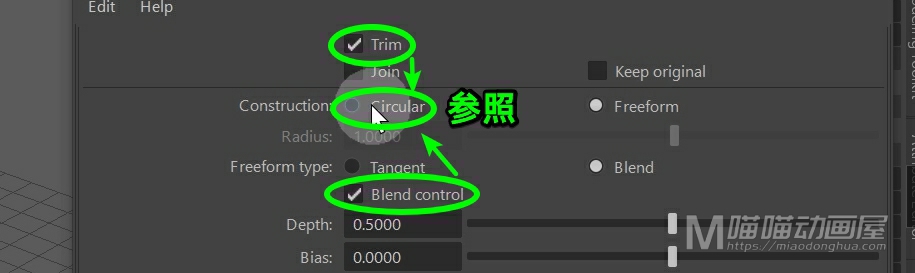
假设我们要在构建的过程中,把它们变为一个整体,我们需要在顶头这里勾选【修剪Trim】,并且勾选【接合Jion】,然后我们选择曲线,点击应用。
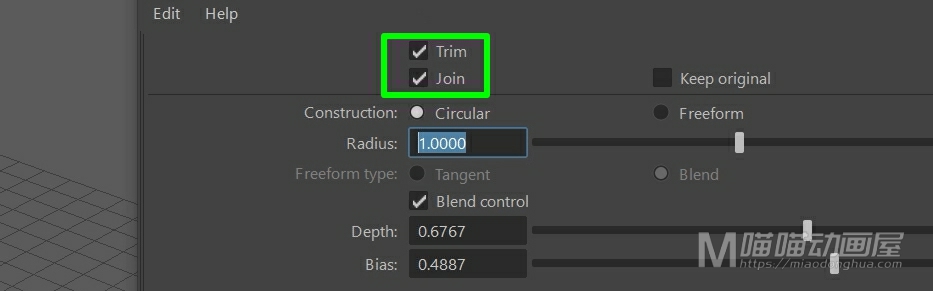
这样它们就变成了一个整体。
另外,如果我们要保留原先的曲线,我们可以勾选这个【保持原始】。
我们撤销回去,我们选择曲线,点击应用,这样我们的这两条曲线就被保留下来了。
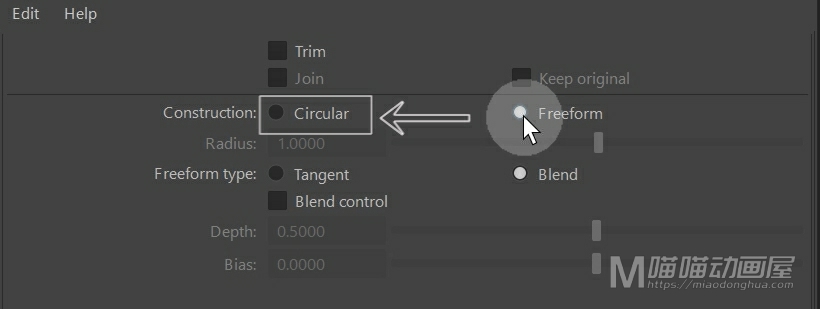
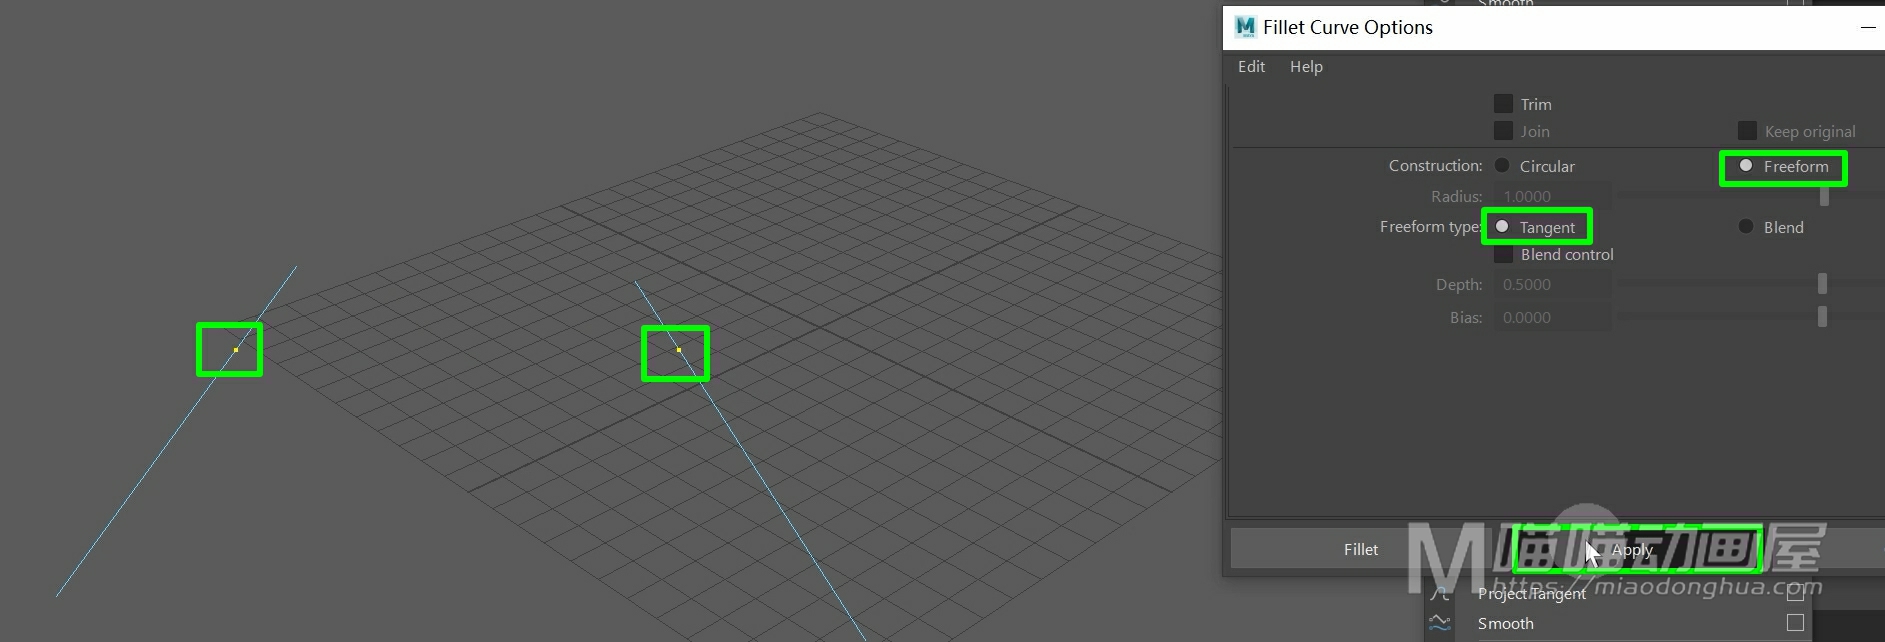
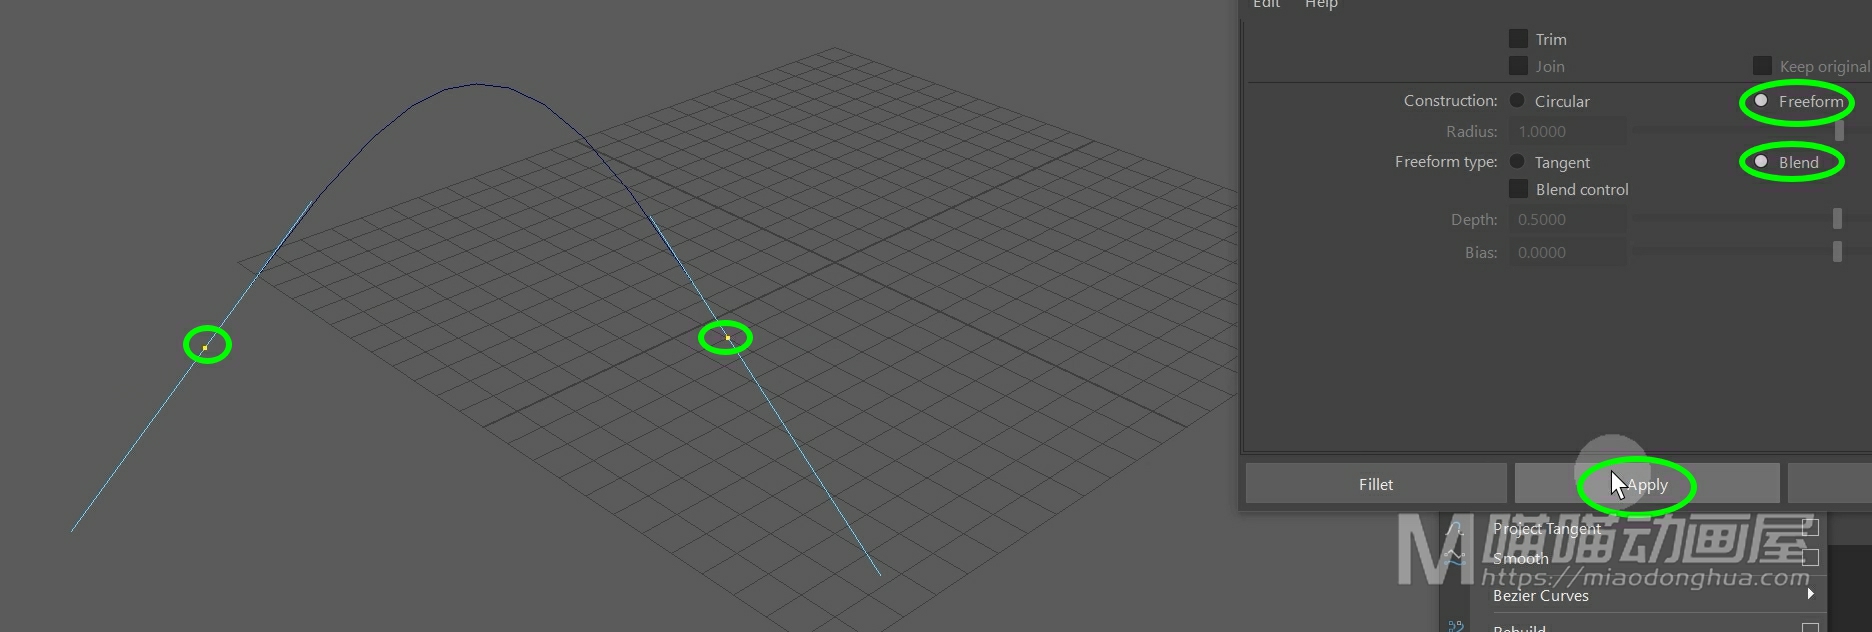
我们重置一下工具,我们来看下第二种构建方法:自由构建。那么这个自由构建和我们的这个圆形构建最大的区别在于:我们的这个自由构建,可以选择两条曲线上任意的点来构建曲线或者圆弧。
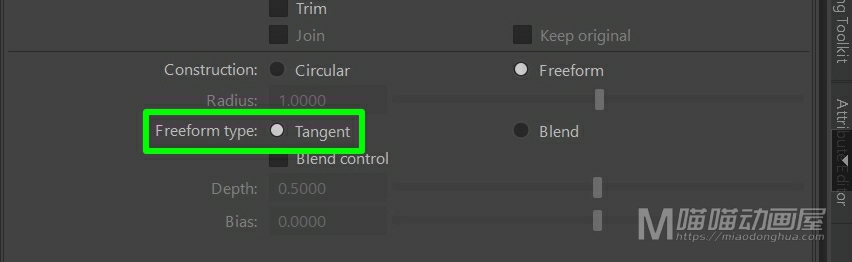
怎么操作呢?我们可以先把自由类型改为切线。
然后在选择模式工具栏开启组件选择模式。
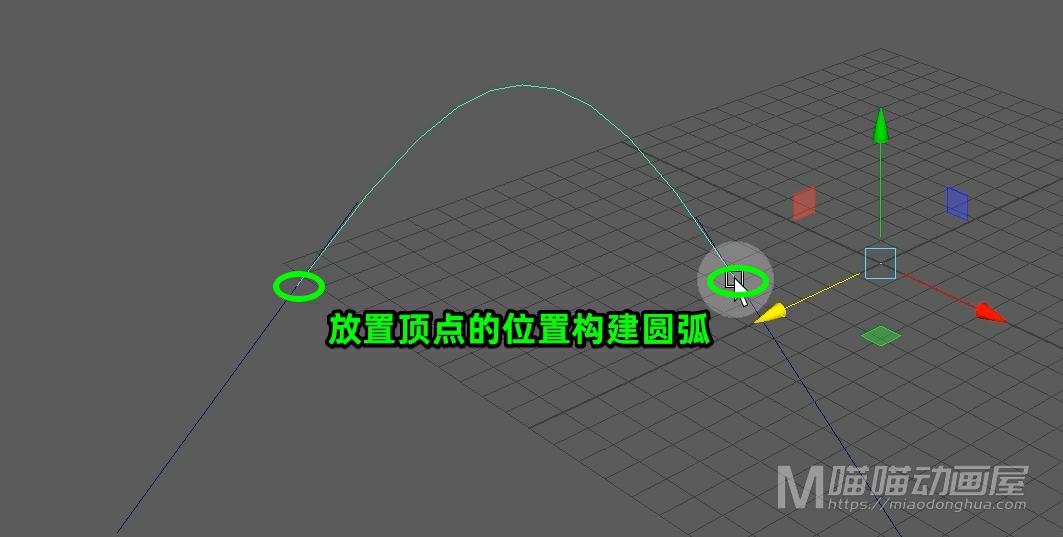
然后我们选择这两条曲线,接着进入曲线点模式,按住Shift键,放置我们想要构建出圆弧的顶点,然后,我们点击应用。
这样圆弧就会从我们放置顶点的位置构建出来。
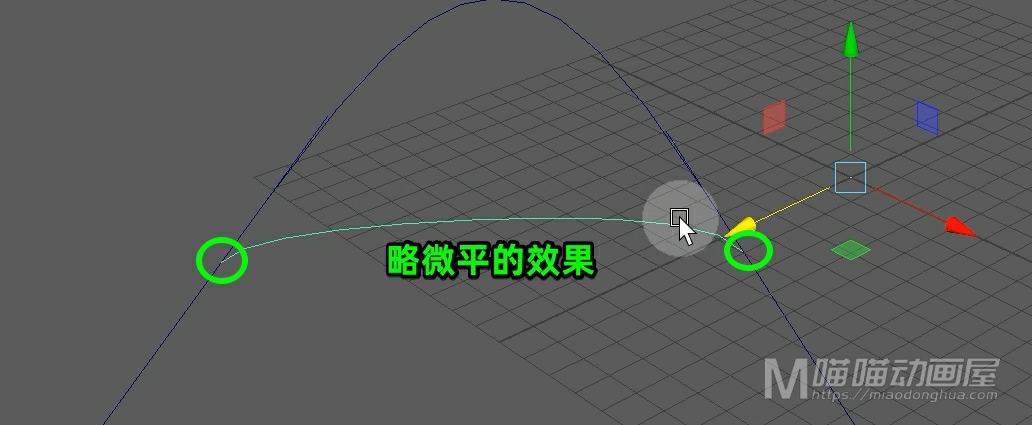
当然,如果我们不想构建圆弧形状,想直接连接点,我们可以把自由类型切换为融合。
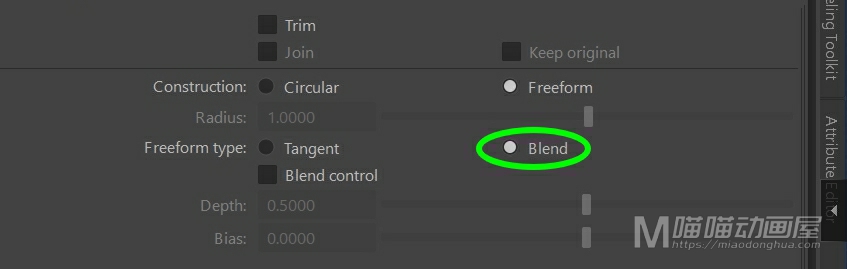
我们再次选择曲线,进入曲线点模式,按住Shift键放置顶点,然后点击应用。
这样我们构建出来的曲线,就是这样比较平的效果。
那么这里的修剪模式和这个融合控制,我们可以参照上面我们讲到的圆形构建,这里就不再重复的去演示说明了。
好了,关于曲线圆角命令就讲到这里。